Skip to Content
Registrations Closed

Make a Curved-Bottom Wooden Plane

Make a wooden bodied smoothing plane in the style favored by famed cabinetmaker James Krenov.

Starts
Ends
Add to calendar:
Make a Curved-Bottom Wooden Plane

Make a Curved-Bottom Wooden Plane

Make a wooden bodied smoothing plane in the style favored by famed cabinetmaker James Krenov.

Pricing
Tuition Assistance and Policies
See more
Cancellation & Other Policies
See more
Registrations Closed

About

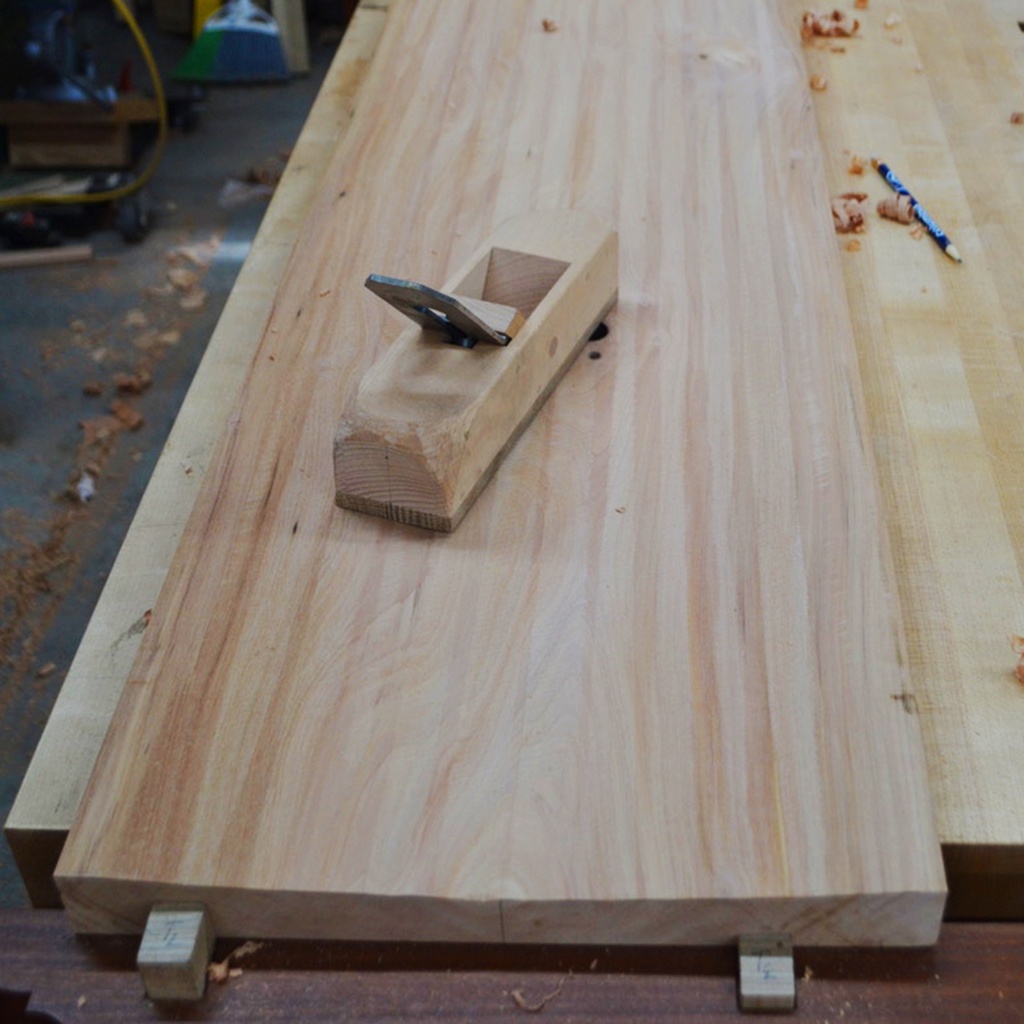
Make a curved-bottom plane — indispensable for backing out a boat plank, curving a recess in a bench seat to make it more comfortable, or shaping concave pieces on furniture. Or, if you wish, you can make it with a flat bottom, for smoothing boards perfectly flat. Either way, you will create the body of the plane from wood.

A tuned wooden hand plane works as well as a premium metal plane and is soft on the hand. James Krenov, who inspired a generation of woodworkers to create details with hand tools, used wooden-body planes to do all sorts of smoothing tasks, including the interiors of the curved doors he often included in his cabinets. John McCormack, the instructor, used a curved-bottom plane he made to shape the gentle trough on the top of a madrone bench shown under construction in the photograph.

Day 1: Lay out the plane body, bore for the throat wedge and locator dowels, resaw the blank, cut out the throat and frog bed, flatten the frog bed, and cut a groove for the chip-breaker screw. Then glue up the plane body.

Day 2: Clean up the glued-up plane body, shape its form to fit your hand, and make and fit a wedge to the chip breaker. Form the sole into a curve, if you wish. Adjust the throat to fit the iron, and grind, sharpen and hone the blade. Use your plane to smooth some wood. Learn how to adjust the depth of cut.

By the end of the class, you should know how to make additional planes if you want custom sizes or sole shapes.


Details

A $120 materials fee, included in the class fee, covers oak and maple for the plane bodies, a premium 2-inch-wide plane iron with a breaker, and shop supplies.

Prerequisites

Before the class begins, you must have completed Orientation to the Woodshop, Woodshop Tool Safety  Checkout 1 and Woodshop Tool Safety Checkout 2.

Class Policies

  • Ages 14 and up are welcome.
  • You must wear safety glasses and closed-toe shoes, tie back long hair, and avoid loose-fitting clothing and jewelry. We recommend bringing your own safety glasses.
Instructor
John McCormack

John McCormack is a furniture designer, maker, and teacher living and working in Port Townsend. A graduate of the cabinet and furniture making program at North Bennet Street School in Boston, he holds a Master in Fine Arts in furniture design from Rhode Island School of Design. He has written for various publications, including Fine Woodworking, which featured his piece on The Ultimate Crosscut Sled on its cover. He got his start in woodworking by studying under John Kassay, author and expert on Shaker and Windsor furniture. Read more at his website: https://www.johnpmccormackdesign.com/

Related Events

Check out other events you might be interested in!

Woodworking Tool Safety Checkout 2

Get checked out on the Woodworking Studio's major power tools not covered in Tool Safety Checkout 1.

December 21, 2026

Woodworking Open Studio

Work on projects of your own in an informal setting with a safety monitor and woodworkers of varying skill levels.

December 20, 2026

Woodworking Tool Safety Checkout 1

Learn the basic safety principles of five key tools in the woodworking shop.

December 17, 2026

-*