Skip to Content
Registrations Closed

Machine-Made Mortise and Tenon Joints

Learn to use power tools to make mortise and tenon joints - among the strongest ways to connect pieces of wood.

Add to calendar:
Machine-Made Mortise and Tenon Joints

Machine-Made Mortise and Tenon Joints

Learn to use power tools to make mortise and tenon joints - among the strongest ways to connect pieces of wood.

Pricing
Tuition Assistance and Policies
See more
Cancellation & Other Policies
See more
Registrations Closed

About

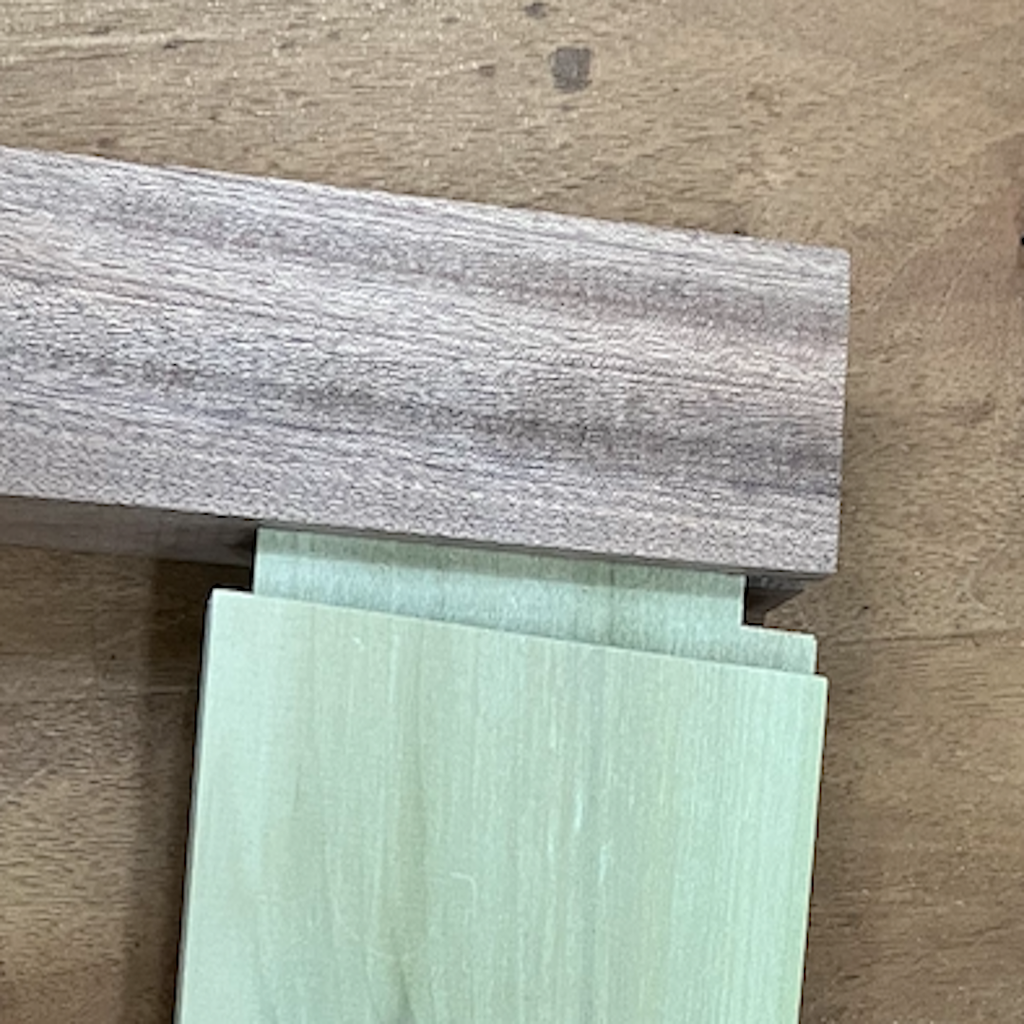
With this style of joinery, one piece has a positive part (the tenon) that fits into a recess (the mortise) in the mating piece. The joint design offers mechanical strength when you're making frames, table supports or other projects where  the ends of pieces connect to the sides of other pieces. The joint also helps keep parts aligned during assembly and gluing. You design these joints to maximize the strength of both the mortised and the tenoned parts.

There are numerous ways to create these joints, including with hand tools. This class focuses on machine methods for creating uncompromised mortise-and-tenon joints and haunched mortise-and-tenon joints. A haunch is a stub extension of the tenon — an extra bit of wood above the main tenon — that makes the joint more resistant to twist and mortise breakage when stressed. On a frame-and-panel door, it also hides the groove where the panel fits.

You'll learn how to:

  • Cut mortises two ways — using a hand-held plunge router with a jig and using BARN's vertical hollow-chisel mortising machine.
  • Cut tenons on the table saw using a tenoning jig.
  • Clean up tenon cheeks and shoulders with hand tools — a chisel and a shoulder plane.

You'll also learn the types of projects where these joints work well and what proportions and other details work best. You'll be able to use the jigs and bits at BARN for your future projects.

Details

A $30 materials fee, included in the cost of the class, covers everything you need.

Prerequisites

Class Policies

  • Ages 14 and up are welcome.
  • You must wear safety glasses and closed-toe shoes, tie back long hair, and avoid loose-fitting clothing and jewelry. We recommend bringing your own safety glasses.
Instructor
John McCormack

John McCormack is a furniture designer, maker, and teacher living and working in Port Townsend. A graduate of the cabinet and furniture making program at North Bennet Street School in Boston, he holds a Master in Fine Arts in furniture design from Rhode Island School of Design. He has written for various publications, including Fine Woodworking, which featured his piece on The Ultimate Crosscut Sled on its cover. He got his start in woodworking by studying under John Kassay, author and expert on Shaker and Windsor furniture. Read more at his website: https://www.johnpmccormackdesign.com/

Related Events

Check out other events you might be interested in!

Woodworking Tool Safety Checkout 2

Get checked out on the Woodworking Studio's major power tools not covered in Tool Safety Checkout 1.

December 21, 2026

Woodworking Tool Safety Checkout 1

Learn the basic safety principles of five key tools in the woodworking shop.

December 17, 2026

Orientation to the Woodworking Studio

This introduction is required for anyone who wants to work in the Woodworking & Small Boatbuilding Studio.

December 16, 2026

-*