Frame-and-Panel Doors
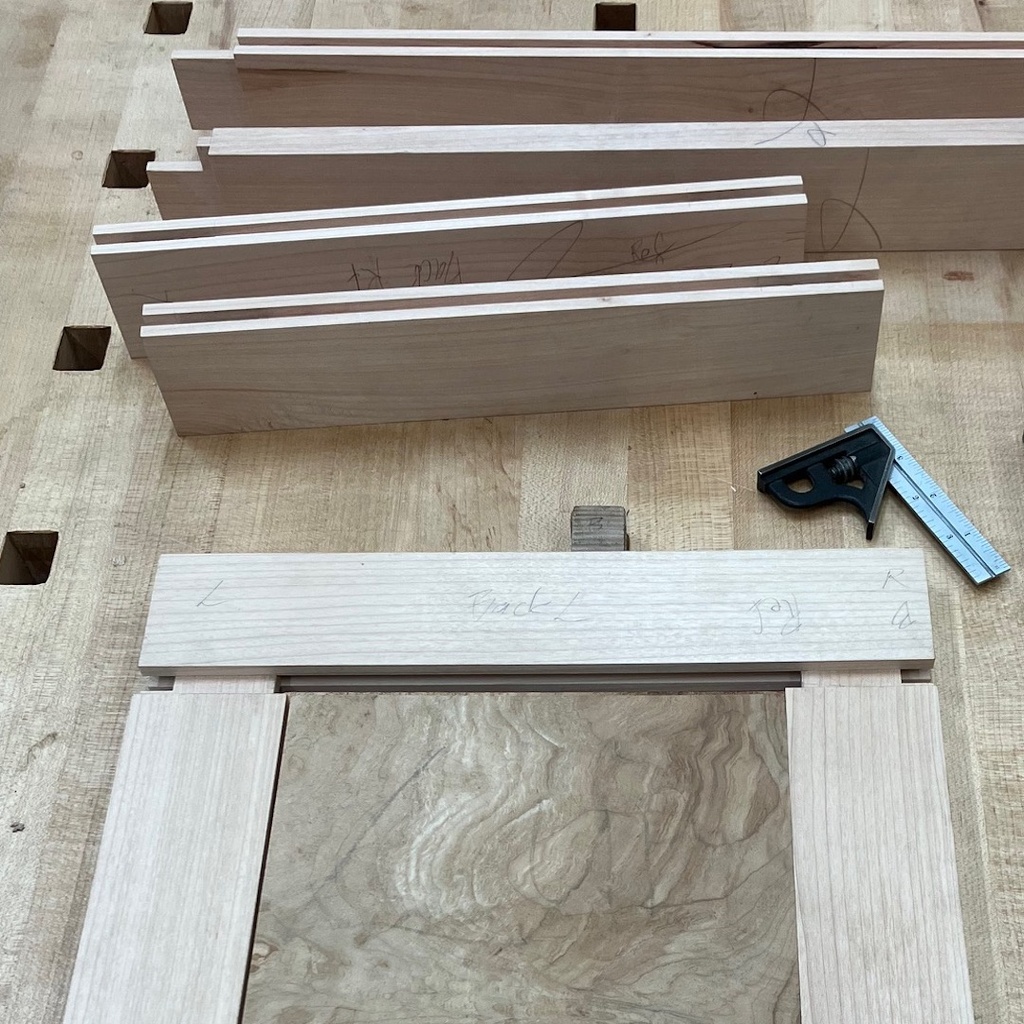
Learn two ways to build frame-and-panel doors for cabinets or furniture.


Instructor
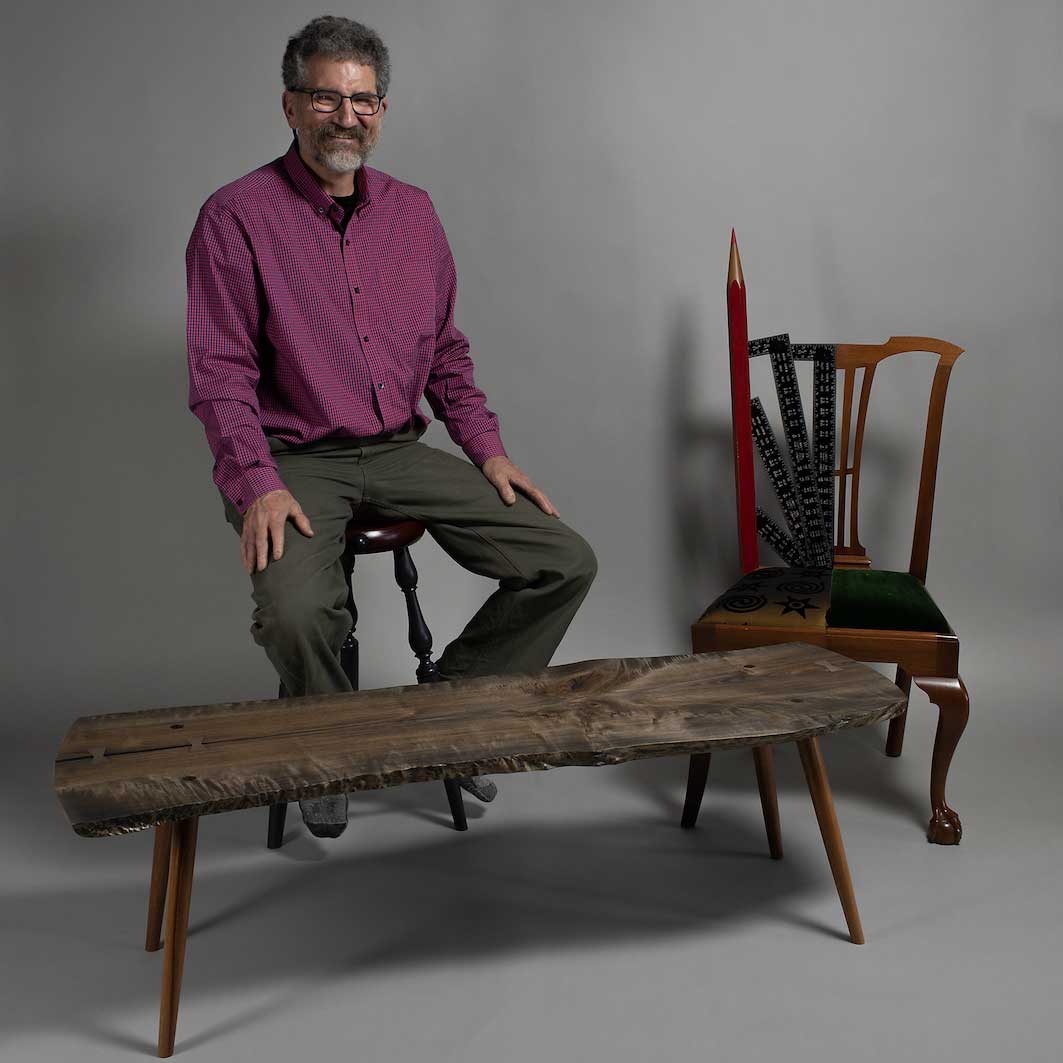
John McCormack is a furniture designer, maker, and teacher living and working in Port Townsend. A graduate of the cabinet and furniture making program at North Bennet Street School in Boston, he holds a Master in Fine Arts in furniture design from Rhode Island School of Design. He has written for various publications, including Fine Woodworking, which featured his piece on The Ultimate Crosscut Sled on its cover. He got his start in woodworking by studying under John Kassay, author and expert on Shaker and Windsor furniture. Read more at his website: https://www.johnpmccormackdesign.com/
Related Events
Check out other events you might be interested in!

Teen Night
Teens (grades 7-12) gather for a free evening of art, friends, and creativity (registration opens at noon April 30).
May 14, 2027

Teen Night
Teens (grades 7-12) gather for a free evening of art, friends, and creativity (registration opens at noon April 9).
April 23, 2027

Teen Night
Teens (grades 7-12) gather for a free evening of art, friends, and creativity (registration opens at noon Feb. 26).
March 12, 2027