Family-Friendly: Fly Your Own Kite (Ages 10+)
Transform cedar, paper and a tale of rags into a kite that flies.


Related Events
Check out other events you might be interested in!

Teen Night
Teens (grades 7-12) gather for a free evening of art, friends, and creativity (registration opens at noon April 30).
May 14, 2027
Teen Night
Teens (grades 7-12) gather for a free evening of art, friends, and creativity (registration opens at noon April 9).
April 23, 2027
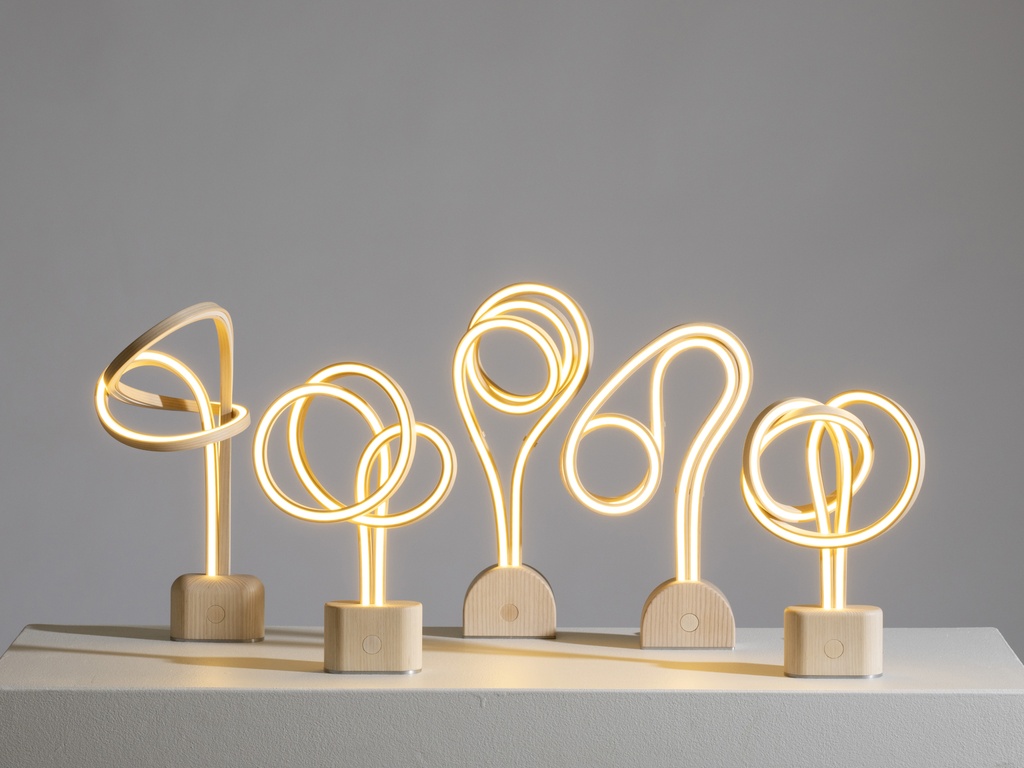
Steam-Bending with Yuri Kobayashi
Make a one-of-a-kind floor lamp as you explore the magic of using steam to make wood pliable.
April 12, 2027